The Hunting Dog is supported by its audience. As an Amazon Associate, we earn from qualifying purchases.
The first time you take your bicycle out with your dog, you may never get on the saddle. A few calm steps beside a bike you’re pushing can be a productive first session. Once your dog can walk, turn and stop with the moving bike, you’ll have a better idea of whether a short ride is something you can both enjoy.
Decide if your dog is ready to run alongside
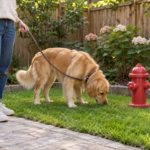
Start with how your dog moves on an ordinary walk. Can they walk at your side on a loose leash, slow down with you and pass distractions without lunging into your path? A bicycle gives you less time to respond to a squirrel, a sudden stop or a dog coming the other way. If you already need both hands to manage the leash on foot, work on those situations before bringing the bicycle along.
Ask your veterinarian about sustained running if your dog is still growing, is older or has a history of limping, breathing trouble or exercise intolerance. The age at which a young dog is ready for repetitive running varies. Short-muzzled dogs can have particular difficulty cooling themselves. An adult dog that enjoys a long sniffing walk can still struggle to hold a steady trot. Your dog’s ordinary activity, gait and recovery tell you more about where to begin than their enthusiasm when the leash comes out.
Check the setup before you clip in
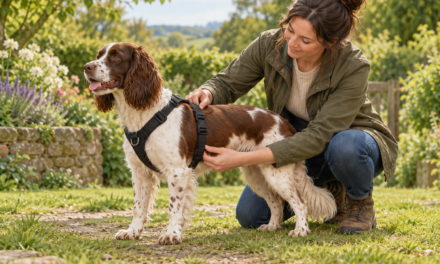
Use a well-fitted harness with the attachment point permitted by the bicycle-arm manufacturer. On foot, check that the harness stays in place when your dog turns and that the straps clear the armpits through a full stride. Bring your usual walking leash for breaks and the walk home. A regular leash looped around the handlebar or your wrist can interfere with braking and steering. Keep both hands available for the controls whenever you’re on the bike.
Install the mount with the bike unloaded and follow the hardware instructions. Make sure your bicycle manufacturer permits a clamp at the specified point, especially on carbon or dropper seatposts. Turn the pedals and wheel by hand while the bicycle is stable and your dog is away from it. Look for contact with heels, spokes, the chain, brake lines and bags. Check the tether at both ends of its permitted travel. If the line or arm can reach a wheel, or the bracket shifts under the maker’s setup check, resolve the fit before using it.
A removable arm for a compatible seatpost

The WalkyDog Plus has a seatpost receiver and a quick-release steel arm. For owners who ride solo as well, the arm can come off while the receiver stays on the bike. The maker’s FAQ lists a standard seatpost circumference of 3¼–4 inches and recommends this model for dogs weighing at least 30 pounds. The clamp needs an approved mounting surface, and the arm release is for removing the arm from its receiver. Breaks and transfers still call for stopping, stabilizing the bike and putting your dog back on their walking leash.
For a lower mount, a rotating arm or a spring with a breakaway link, compare the mounting points and trade-offs in our dog bike attachment guide.
Go from a parked bike to a moving bike
1. Introduce the parked bike
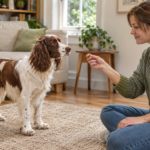
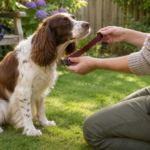
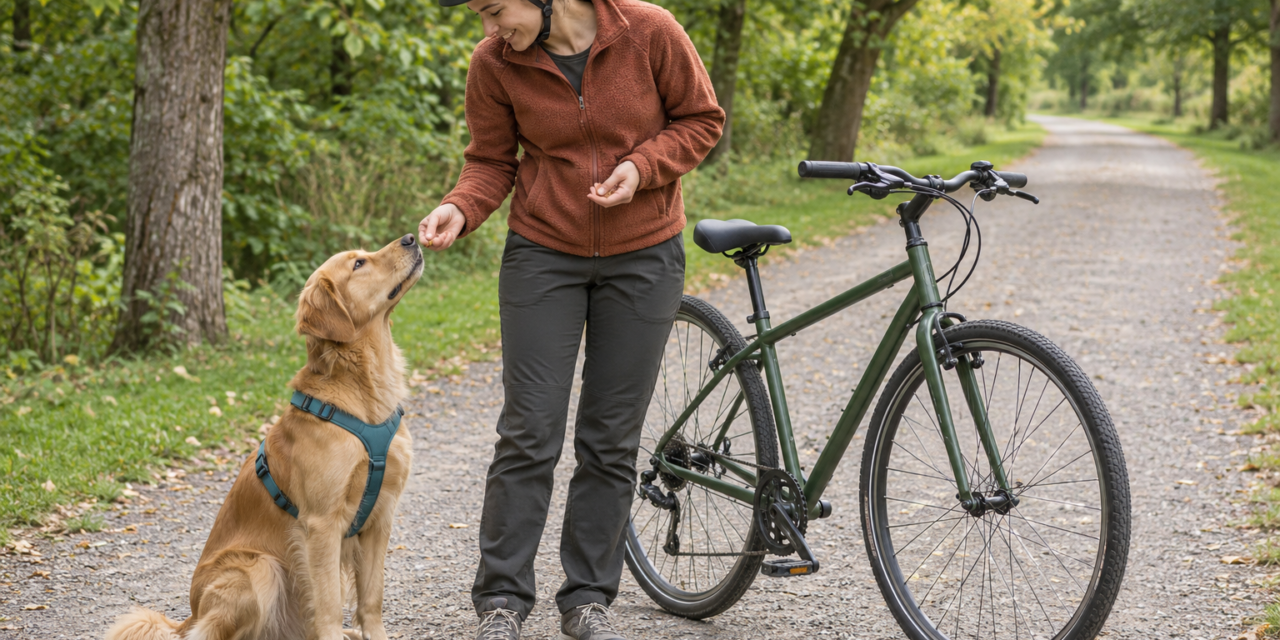
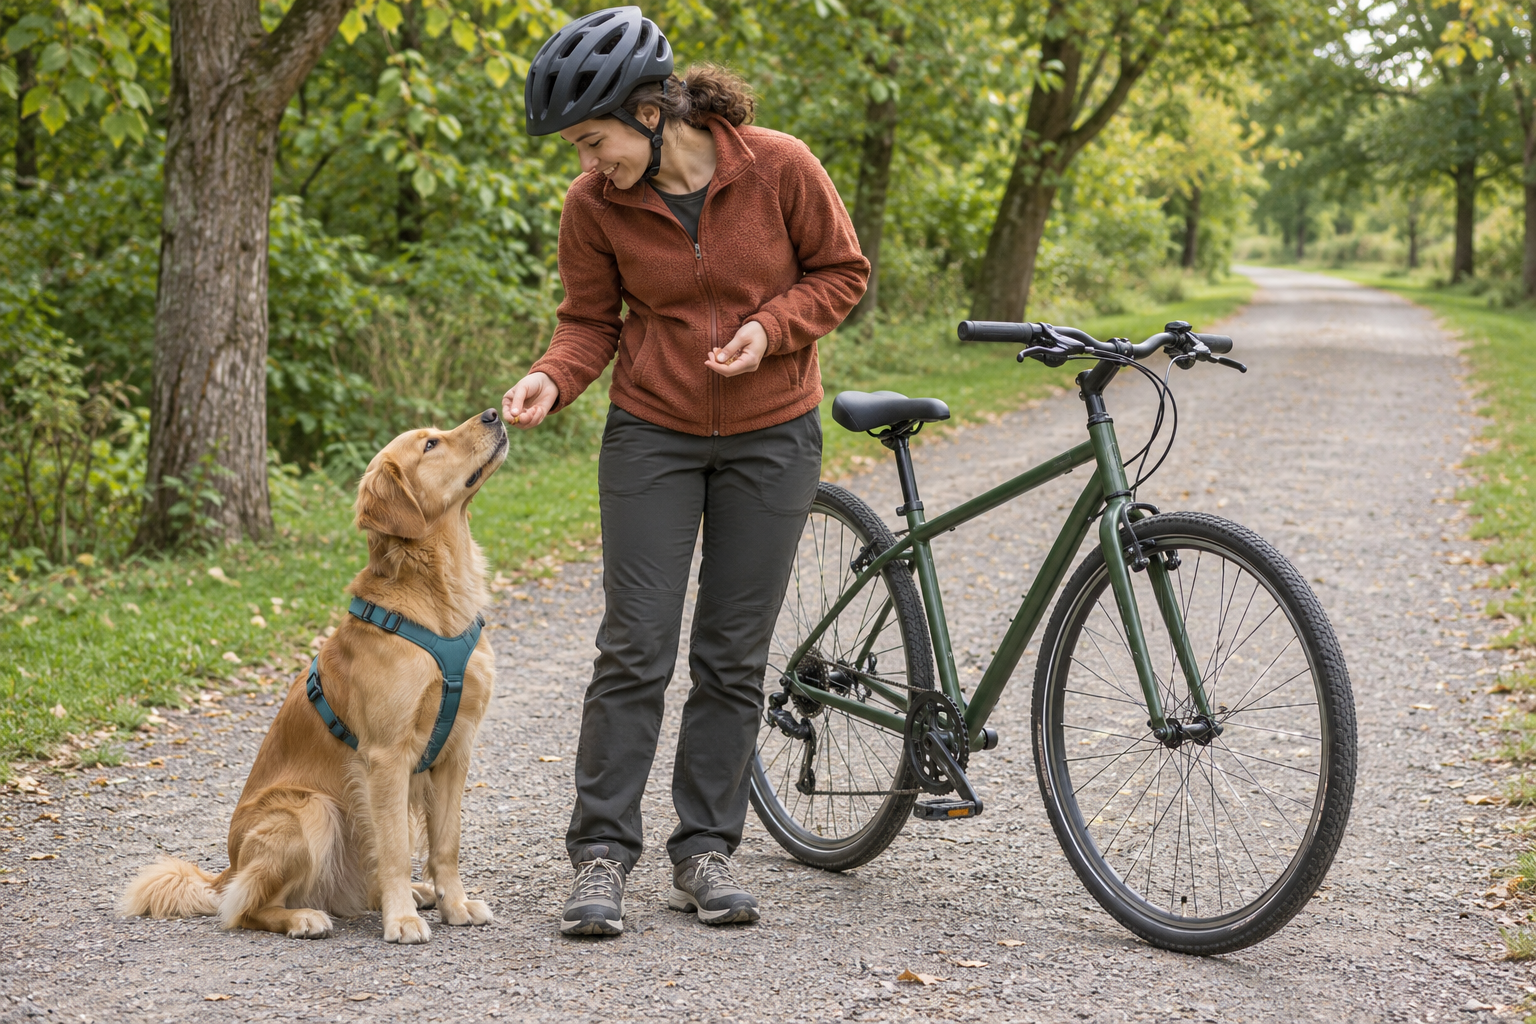
Choose a quiet, open space where bikes are permitted. Have a helper steady the bike if possible. Start several steps away, with your dog on their regular leash and free to look away. Reward a relaxed glance at the bike or a voluntary step toward it. Let your dog circle at a comfortable distance. Keep treats on the outside of the training area so your dog has a reason to stay clear of the bicycle. An easy repetition ends with the dog able to move away calmly.
Introduce one unfamiliar sound or motion at a time. For example, while your helper handles the dog, walk the bike a few feet away and stop. The next repetition can add a click from a gear change or the sound of the freewheel. If the dog freezes, backs away or stops taking a familiar reward, give them room and make the movement smaller. A dog that is comfortable on a path may still find a pedal brushing a shoe or a spinning wheel startling up close.
2. Walk together without riding
With a helper handling the walking leash, push the bike in a straight line at an easy pace. Walk parallel with enough space for the dog to stay clear of the wheels, then gradually close the gap if they are relaxed. Practice the side approved for the mount from the beginning. Say a cue such as “easy” before you slow, and reward your dog after you both stop. Practice wide turns in both directions before attempting any tighter turn. A corner toward the dog reduces their space, so slow down before turning and give them a wider arc.
Once your dog can walk beside the moving bike and stop with you, repeat a few straight passes with the fitted attachment while you’re still on foot. Follow the maker’s instructions for controlling the bike and dog during setup. Keep the brake covered when you stop and keep a hand on the bike. Never leave a dog attached to a parked bicycle, even for a water break. Transfer to the regular leash with the bike steady before you let the dog move away.
3. Try a short, slow stretch
Pick a wide, flat stretch with good footing, a clear view ahead and enough room to stop or turn back. Skip narrow bridges, busy intersections, steep grades, loose stones and crowded paths. Secure bags and avoid rides in heat or high humidity. Leave room for other trail users and walk past distractions when space is tight. With your helmet on, ride a short straight stretch at a pace that lets your dog move easily. Dismount while your dog still looks comfortable. A session can be a few short passes with walks in between.
If your dog drifts toward the bike, pulls repeatedly, falls behind, or struggles to respond to the slowing cue, ease to a stop in a clear area. Check the dog and the equipment, then walk back if needed. A good first ride is one you can end quickly and comfortably. On later outings, extend the easy portion in small increments across multiple sessions while keeping the route and pace familiar. Add new terrain, longer distance and more distractions on separate days so you can see what changes your dog’s behavior.
Know when to call it a day
Bring water, offer regular breaks and check paws before and after the session. Watch for a shortened stride, repeated requests to stop, paw lifting or rubbing near the harness. Look for gritty debris between toes and strap marks where the front legs move. An even path can still heat up in direct sun. On warm or humid days, favor a shady walk and save faster exercise for cooler conditions. Panting that stays unusually heavy after stopping, thick drooling or a dog seeking shade are reasons to end the outing promptly and get them somewhere cool. Breathing difficulty, weakness or collapse warrants immediate veterinary care.
Check again later and the next day. A dog that is stiff when rising or sore through the feet needs time off and a shorter plan when they can exercise comfortably again. Call your veterinarian about ongoing limping or other signs of pain. Before your next outing, inspect the fasteners, tether and clip. For a breakaway design, replace any released component with the part specified by the manufacturer. For an arm that stays attached during use, still plan a place where you can stop and change to a walking leash away from traffic.
Some dogs remain more comfortable walking beside a person than running beside a bicycle. You can still share the same trail at a walking pace, or look into a purpose-built dog trailer if your dog tolerates it and your bike and trailer are compatible. The way your dog moves, responds and recovers is the best guide to what your next outing should look like.