The-Hunting-Dog is supported by its audience. We may receive commissions on purchases made from links on our site.
A harness can look tidy while still sitting in the wrong place. The chest panel may slide when the leash tightens, a strap may brush an elbow, or the neck opening may become large enough for a dog to reverse through. A useful fitting check combines measurements, adjustment and a short movement test. The label on the package is only the starting point.
This guide walks through that process for an everyday walking harness. For a comparison of the harnesses discussed in our buying guide, see our no-pull dog harness guide. A front attachment can help you manage walks while you teach loose-leash skills; it does not teach those skills by itself.
1. Set up a calm fitting session
Choose a quiet room or enclosed yard, away from the excitement of the front door. Have a soft measuring tape, a few small rewards, the harness and its size chart ready. A second person can reward a dog for standing comfortably while you measure. Keep the session short enough that you can stop before either of you becomes frustrated.
If your dog backs away when the harness appears, begin with it lying nearby. Reward voluntary investigation, then practice approaching the opening without fastening anything. An over-the-head design needs your dog to be comfortable putting their head through it. Do not hold a struggling dog still and force the opening over their ears. Split the introduction into easier stages instead.
2. Measure the body, not the old harness
With your dog standing naturally, measure around the widest part of the rib cage behind the front legs. Keep the tape level and in contact with the coat without compressing the body. Write the number and units down. Then measure the lower neck where the harness neckline will sit, rather than copying the measurement from a collar worn higher up.
Different designs can require additional measurements. The PetSafe Easy Walk, for example, uses both girth and chest width. Chest width is measured across the front of the dog, beginning about an inch behind one front leg and ending about an inch behind the other. That is a different measurement from the complete loop around the ribs. Mixing them up can lead to an unsuitable size.
Repeat a measurement if your dog twists or crouches. Recording two very different readings is a reason to try again, not to average them into a number that looks plausible. If you use string and a ruler instead of a tape, hold the measured length before your dog moves so you do not accidentally add slack.
3. Match every required measurement to the adjustment range
“Medium” is not a standard measurement shared by all harnesses. Start with the chart for the actual model, then check whether each required body measurement falls inside its stated range. Weight and breed examples can help you find a starting point, but neither describes the shape of an individual dog well enough to replace the tape.
As a worked example, PetSafe lists the standard Easy Walk Medium for a chest width of 12–15 inches and a girth of 22–32 inches. A dog measuring 13 inches across the chest and 26 inches around the ribs falls within both ranges. A dog with the same girth but a 16-inch chest width does not meet both Medium ranges. That second dog needs a different sizing decision; the girth number alone does not settle it.
Do not buy an oversized harness simply to leave room for a puppy to grow. You need a secure fit today. When measurements sit near a boundary, compare the neighboring sizes and consider where their adjustment ranges overlap. PetSafe recommends the larger size when a dog falls between its sizes, but you must still be able to position and secure all straps correctly.
4. Adjust the harness in a deliberate order
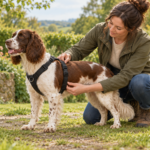
Loosen the straps enough to put the harness on comfortably. Identify the front, back and belly portions before fastening it. Check that no strap is twisted, that fur is clear of the buckles, and that each buckle is fully engaged. Avoid making several large adjustments at once: move one slider a little, settle the harness, and reassess its position.
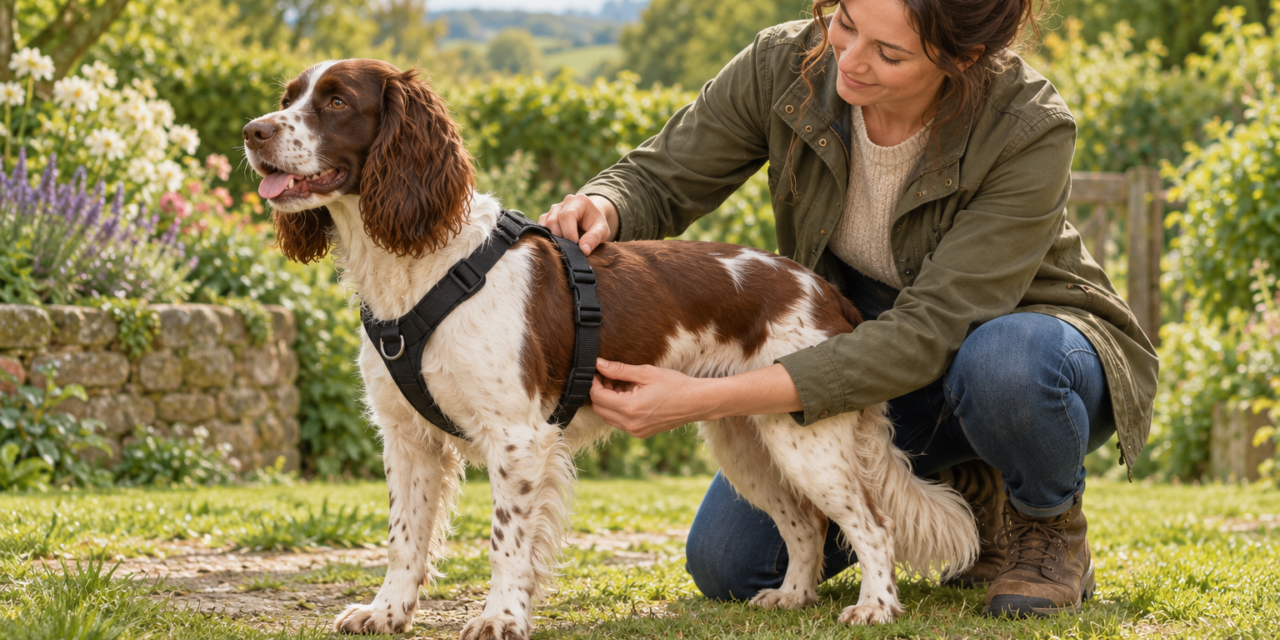
On a padded harness with separate neck and chest adjusters, keep paired straps reasonably even so the front panel remains centered. The neck opening should sit at the chest rather than pressing on the throat. The strap around the ribs should not sit on the soft abdomen or jam into the elbows. A panel that only stays centered while the dog is motionless needs another look.
The standard Easy Walk has a different fitting sequence. Fit the shoulder strap first, then its contrasting belly strap, and finally the front chest strap. Its front section should run horizontally across the breastbone, with the leash ring centered. This is why the fitting method for a padded Y-shaped harness cannot simply be copied onto a chest-strap design.
5. Check comfort and movement together
Run your fingers underneath the straps to check for pinching and large gaps. The familiar two-finger check is a starting aid, not a precise measurement: hands differ in size, coats vary, and the manufacturer may specify a closer fit. PetSafe describes a snug one-to-two-finger fit for the Easy Walk foundation straps. Do not leave a loose loop just because two fingers can fit inside it.
Ask your dog to walk a few steps, turn both ways and sit. Watch the front legs from the side. A strap should not drag across an elbow with each stride, and the harness should not pull the body noticeably sideways. Check again after movement, because straps can settle differently once a dog stops bracing or the coat flattens.
In an enclosed area, apply gentle leash tension in different directions while keeping your dog supported and calm. Watch for an opening moving toward the ears when the dog steps backward. Do not turn this into a hard pulling contest. If the harness starts sliding off, stop and refit it before going outside. A successful standing finger check does not prove resistance to backing out.
One concrete option: PetSafe Easy Walk Medium
The PetSafe Easy Walk in Medium, Black is the same standard chest-strap model included in our main guide, Amazon ASIN B0009ZD3QY. It suits the owner who wants a lightweight front-attachment option and can fit both the chest-width and girth measurements described above. Its contrasting belly strap helps identify which part goes underneath the dog.
The limitation is equally important: this is a front-chest training harness, not a padded harness with a separate back leash attachment. Its manufacturer warns about rubbing during running or jogging and advises stopping at the first sign of discomfort. Choose it for controlled walking practice, rather than assuming that “no pull” makes it suitable for every activity.
View PetSafe Easy Walk Medium on Amazon →
6. Make the first walk a fitting check
Choose a short, familiar route with room to turn away from distractions. Use a regular leash and reward a few steps with slack in it. If your dog pulls toward a smell, pause and encourage an easier return to position instead of jerking them back. Moving forward again can be part of the reward when the leash loosens.
Notice what happens to the harness when the dog sniffs, turns or pauses. If a front clip draws the leash across a leg, change your handling position and shorten the loose loop without keeping constant tension. End the walk early if equipment keeps interfering with movement. The goal is to identify a workable fit, not to prove that the purchase must be right.
7. Inspect after the walk and keep a fit record
Remove the harness and check the skin and coat at contact points, especially behind the front legs and across the chest. Redness, tenderness, a rubbed patch or reluctance to wear it next time deserves attention. Stop using a setup that causes discomfort. If soreness persists or the dog moves differently, seek veterinary advice rather than repeatedly tightening the straps.
For shared dog care, write down the selected size and adjustment positions, or take a simple reference photo of the fitted harness. This helps another walker notice a changed slider. Recheck after washing, grooming, weight changes and puppy growth. Before each outing, inspect stitching, webbing, buckles and attachment rings; a damaged strap is not repaired by making it tighter.
Common mistakes to avoid
- Choosing by breed alone: two dogs of the same breed can have different chest shapes.
- Confusing girth with chest width: a full circumference and a front-of-chest measurement cannot be substituted.
- Using a handle as proof of lifting safety: a walking harness handle does not establish a rated lifting or vehicle-restraint function.
- Leaving it on unattended: remove walking equipment after use, particularly when your dog might chew a strap.
- Expecting equipment to replace training: keep rewarding loose-leash walking and use easier surroundings when distractions overwhelm your dog.
A good fit is something you can repeat and check. Measure, position, move, inspect and adjust as needed. If the harness cannot stay secure and comfortable through that sequence, choose a different fit rather than asking your dog to tolerate it.
Further reading
Cover illustration: AI-generated.